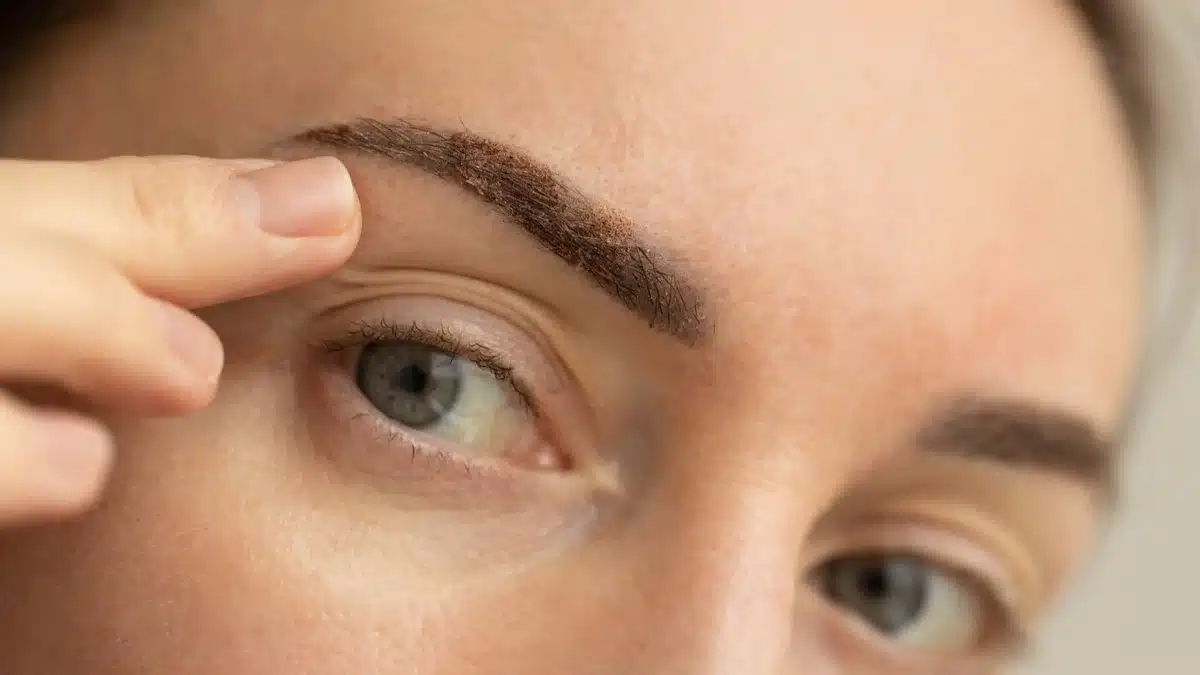
A smoky eye on mature skin or drooping eyelids doesn't have to mean smudged product and panda eyes. Makeup artist Charly Salvator shared a 7-step technique on TikTok that adapts the classic smoky eye to lift and elongate the gaze, whatever the eye shape or skin texture.
The smoky eye has never really gone away. Born in the 1990s, it became the signature look of a generation and has since been immortalized on faces like Bella Hadid, Zoë Kravitz, and Emily Ratajkowski. But for anyone dealing with drooping eyelids or mature skin, the technique can quickly turn against you — dark pigment migrating into creases, a heaviness that pulls the eye down instead of lifting it, or a texture that settles into fine lines within the hour.
Charly Salvator, makeup artist and TikTok creator at @charlysalvator, published a tutorial titled "ASTUCES ET TECHNIQUES POUR UN SMOKY EYES INRATABLE SUR PEAUX MATURES ET PAUPIÈRES TOMBANTES" that addresses exactly this. The video, tagged with #smokyeyes and #makeupyeux, lays out a precise, adaptable method built around one central principle: work with the eye's natural shape, not against it.
Cream textures are the real secret for mature skin
Before any technique comes texture. On mature skin, powder shadows applied too heavily or in the wrong areas will settle into fine lines and emphasize every crease. Cream formulas, on the other hand, blend more seamlessly into the skin, move with it rather than sitting on top of it, and are far less likely to mark ridges around the eye.
Why cream formulas outperform powder on aging skin
The first step in Salvator's method confirms this logic directly: a neutral cream shadow in beige (or a shade matched to the skin tone) goes over the entire eyelid and along the lash line. This creates a smooth, unified base that both primes the lid and begins the shaping process. A brown cream shadow then goes onto the mobile lid, blended with a brush. For drooping lids specifically, the blending direction matters: the product should be swept slightly upward rather than straight across, to counteract the downward pull of the lid.
Building intensity without weighing the eye down
The third step introduces a dark pencil drawn in an accent-circumflex shape at the outer corner of the eye. This is where the smoky eye gets its intensity — but also where mistakes happen most often. Salvator's approach concentrates the dark color at the outer corner and blends it firmly outward and upward. For drooping eyelids, the intensity stays close to the lash line rather than spreading onto the mobile lid, which keeps the eye from looking smaller or heavier.
Placing too much dark product outside the lash line area is the main cause of the classic “panda eye” effect. On mature skin or drooping lids, keeping dark pigment concentrated at the lash line is non-negotiable.
The 7-step smoky eye method for drooping eyelids
The full technique unfolds in 7 defined steps, each building on the last to create a lifted, feline gaze without the risks of a traditional smoky eye application.
Steps 1 through 4: foundation and definition
- Neutral cream shadow (beige or skin-tone-matched) over the entire lid and along the lash line.
- Brown cream shadow on the mobile lid, blended upward with a brush.
- Dark pencil drawn in an accent-circumflex shape at the outer corner, blended outward — kept close to the lash line for drooping lids.
- Black pencil applied to the lower waterline, with emphasis on the outer corner and a slight extension onto the lower lashes.
Steps 5 through 7: dimension, light, and finish
- Brown eyeshadow layered over the outer portion of the lid to deepen the gradient.
- Light beige shadow placed at the inner corner of the eye, beneath the brow bone, and along the upper lash line to open and brighten.
- Mascara applied to both upper and lower lashes to complete the look.
The light beige in step 6 is what transforms a standard smoky eye into a lifted, doe-eyed effect. Placed at the inner corner and under the brow, it creates the illusion of a wider, more open gaze — even on heavy or drooping lids.
The result Salvator aims for is a feline, elongated gaze with a lifted quality — closer to the effect seen on red carpets than the heavy, downward-dragging smoky eye that many people associate with their own past attempts. The technique works because it redirects attention outward and upward, using light and dark strategically rather than applying dark color uniformly across the lid.
Adapting the technique to your own eye shape
Not every eye is the same, and Salvator's method is designed to flex. The core adjustments for drooping eyelids are consistent throughout: blend upward, concentrate dark pigment at the lash line, and keep the outer corner as the focal point of intensity. For mature skin more broadly, the texture rule holds across all steps — cream or easily blendable formulas wherever possible, and careful restraint with the amount of product used outside the lash line area.
steps to a lifted, feline smoky eye on mature or drooping lids
The smoky eye has always been about intensity, but intensity doesn't have to mean heaviness. A well-executed smoky eye on mature or drooping lids is ultimately a question of placement and texture, not of avoiding the look altogether. And for anyone putting together a full beauty look for an evening out — the kind where you might also be revisiting a fragrance trend making an unexpected comeback or finishing with a polished manicure like builder gel nails — Salvator's technique offers a reliable starting point that actually delivers.